Scheduling Appointments on Jobs
Frequently, completing a Job may take more than one site visit, and you can add multiple Appointments to the same Job in these situations.
You can add a new Appointment to an existing Job in a few different ways that are detailed below. Here is more information on the distinctions between Jobs and Appointments in Dispatch.
Article Sections
Web Application
Jobs page
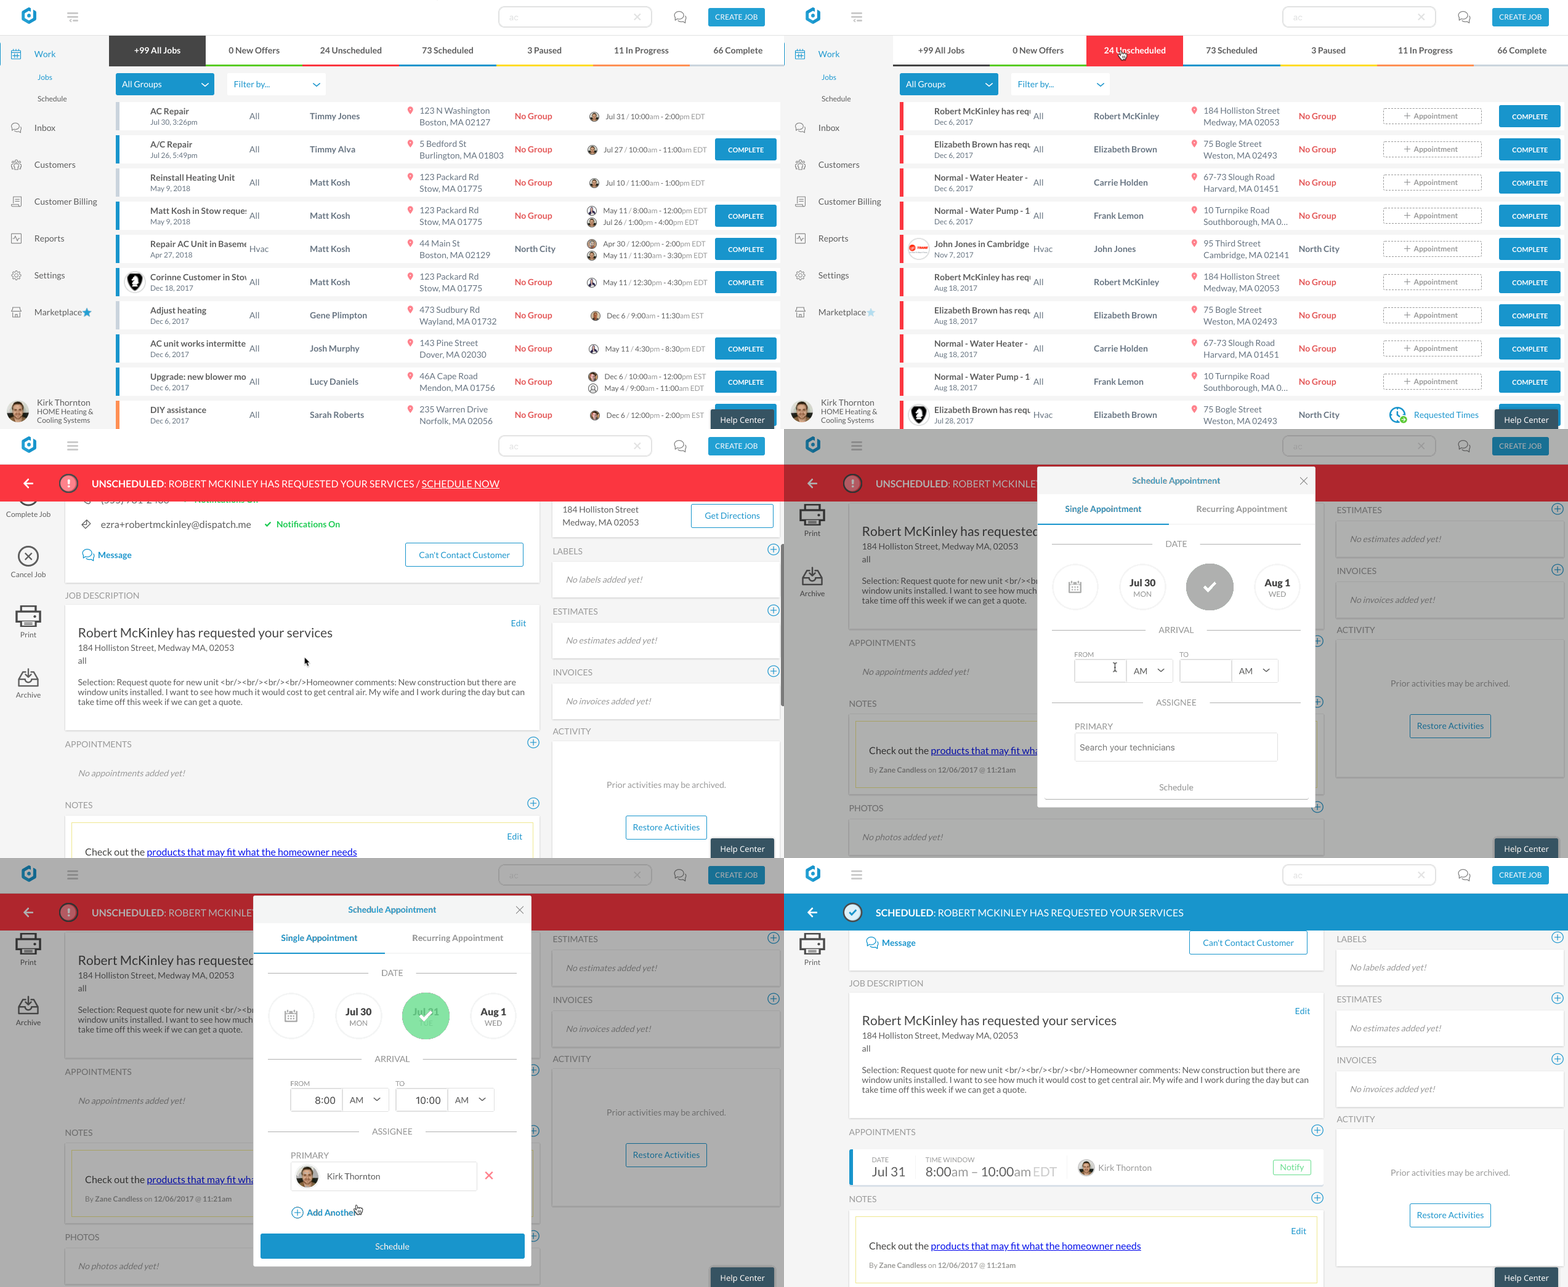
From the list, select an existing Job and look for the blue Plus (+) sign in the Appointments section. Clicking on it will launch the Schedule Appointment dialog identical to that seen when creating a Job. You will need to choose a Date and set an Appointment Time, and you may choose to assign a Tech at this time or save that action for later.

Schedule Page
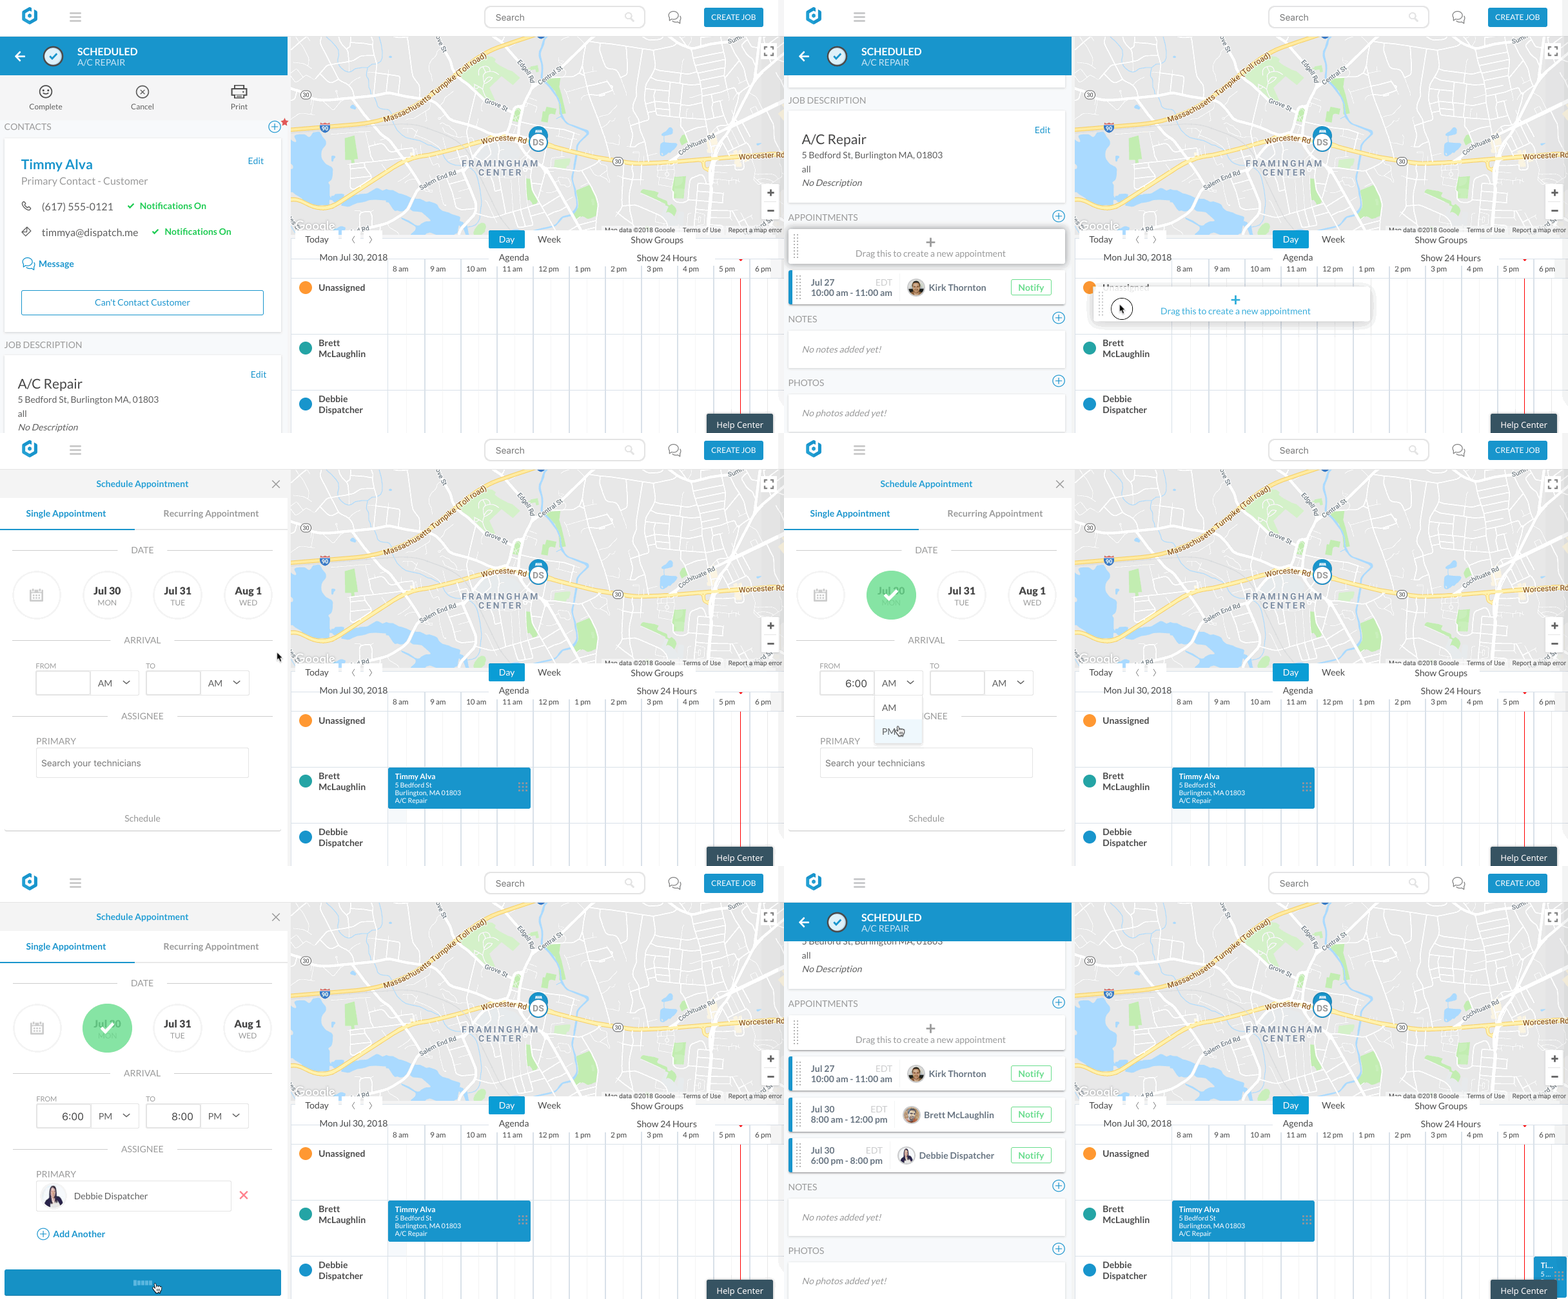
From the list in the Job pane, select a Job and scroll down to Appointments. You can click on the blue Plus (+) sign to create another appointment, or -- an even easier solution -- simply click, hold, and drag the empty Appointment Slot onto your Calendar. You'll then see the new Appointment next to the previously scheduled one in the Job Details.

You can reassign/reschedule any appointment by moving the appointment on the schedule page to a different tech, as well as clicking on the appointment and selecting a new technician.
Mobile App
In the mobile app, you should first navigate to the Job which needs another appointment and tap the Job to open it. From here, there are two ways to add an appointment. You can click on Add Followup Appointment or tap on the red Plus Sign button in the bottom righthand corner. You will then see the option to select Appointment. From there, you will see the standard Schedule Appointment screen, where you can add Date, Arrival information, and Technician for your additional Appointment. Tapping on Save will complete the process of adding another Appointment to the existing Job.