Schedule View Options
With a recent Dispatch update, your business now has more optional views into your daily schedule. In addition to the previous view ( Timeline View), you can now view the Dispatch Schedule in Day and Week View as well. Of the three views, you can select whichever one best suits your preference. With this update, there is no alteration or change to your previous schedule if you choose to continue using it.
Schedule View Options
- Timeline- Read your schedule in horizontal, hourly format
- Day- View your schedule by day of the week
- Week- Access your schedule by viewing the entire week
Getting Started
Updating or changing your schedule view can be done directly on the schedule page, beginning by clicking on the dropdown menu on the date header. From there, you can choose one of the three different Schedule View Options. This option is illustrated in the image below:
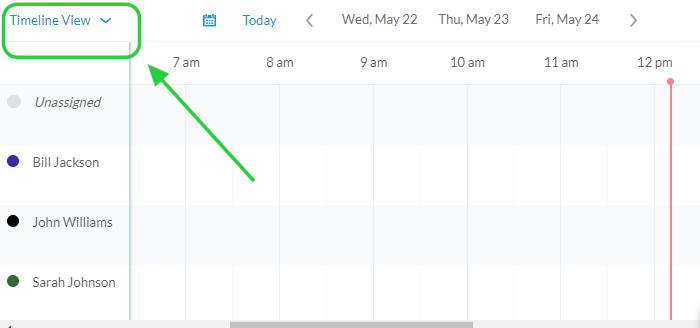
It’s important to note, the first time you open your Schedule, or refresh the page, the default view will be the Timeline View.
Day View
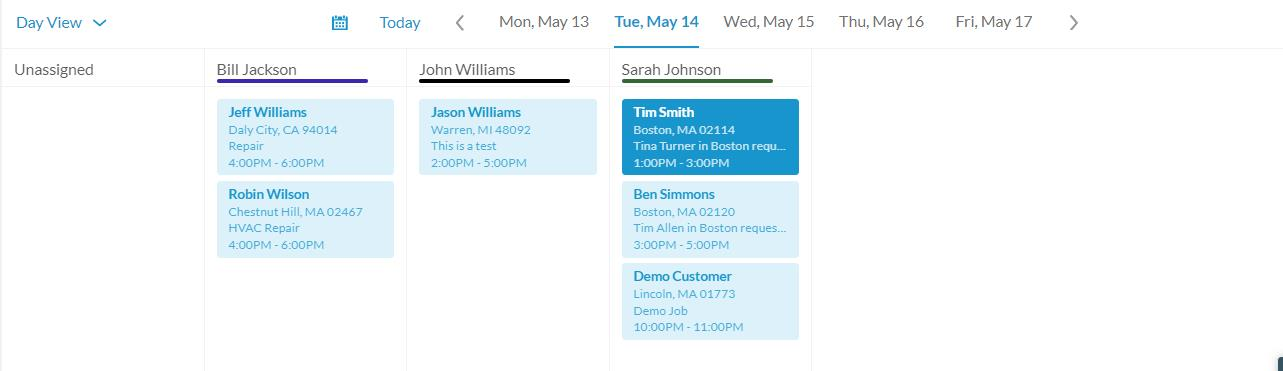
Day View most closely resembles the existing Timeline View. Your Technicians are listed horizontally (as opposed to vertically in Timeline View), and appointments in this view are not sized in connection to their appointment length. The image below is an example of Day View:
Week View
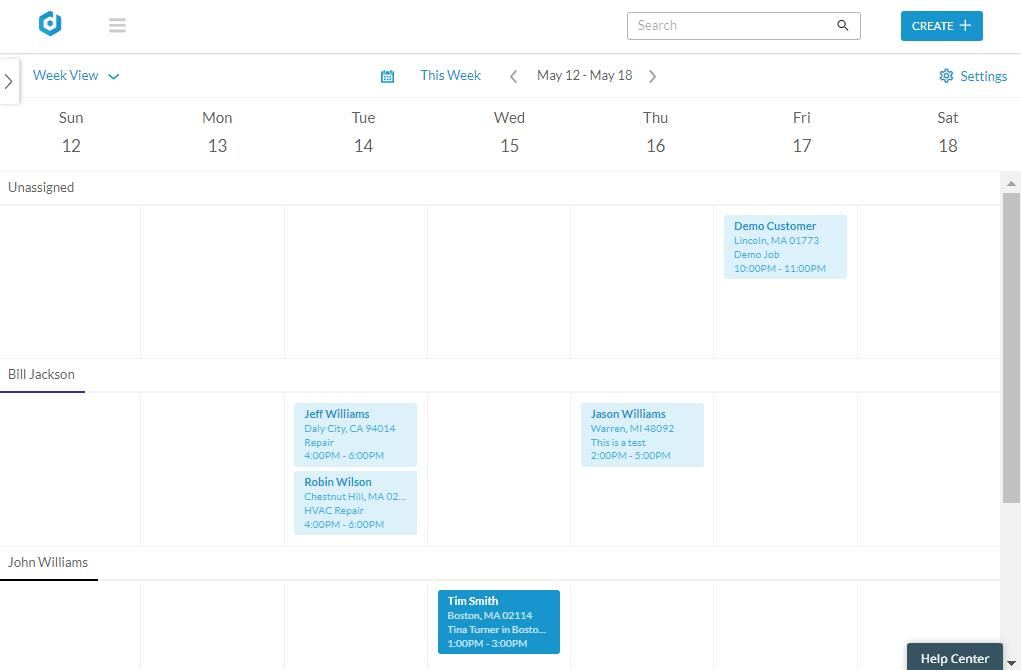
Week View expands your schedule view to show the entire week. We recommend considering this view if you like to view multiple working days at the same time when scheduling or rescheduling work. A few additional notes with Week view:
- You can still drag a new appointment from the sidebar (also known as the scheduling menu) to assign it to a Technician, but this does not set a time.
- If you have previously set Technician working hours, any gray cells indicate days with no working hours for that user.
View an example of Week view below:
Settings Options
As before with the Timeline View, you can update your Schedule View settings options by clicking on the Settings options on the top right corner of the Schedule page. From there, you will find options for your General Settings, Timeline View, Day View, and Week View. Once inside your Schedule Settings, you can select what customer information you would like visible on the appointment card, including:
- Full Name of the customer
- Customer Address
- Job Title
- Time of Appointment
Once you have made updates to your settings, be sure click Save to update your preferences. An example of the settings options for Day View is below:
