Create & Manage your Leads
Use this article to learn how to use Dispatch to create, track, and convert your leads. Leads are listed separately from your jobs in the web application to allow for traditional lead updates before a lead is lost or won and converted to a job.
Article Sections
Enabling Leads
In order to create and manage leads, this feature must first be activated via your Company Settings via the Work platform. You can enable leads by accessing the Leads tab via Company Settings and toggling on the Show Leads setting.

After enabling this setting, the Create Job button on the top right corner of the page will update to a Create + button. Selecting this button will open a prompt where you can select to create a lead or a job. 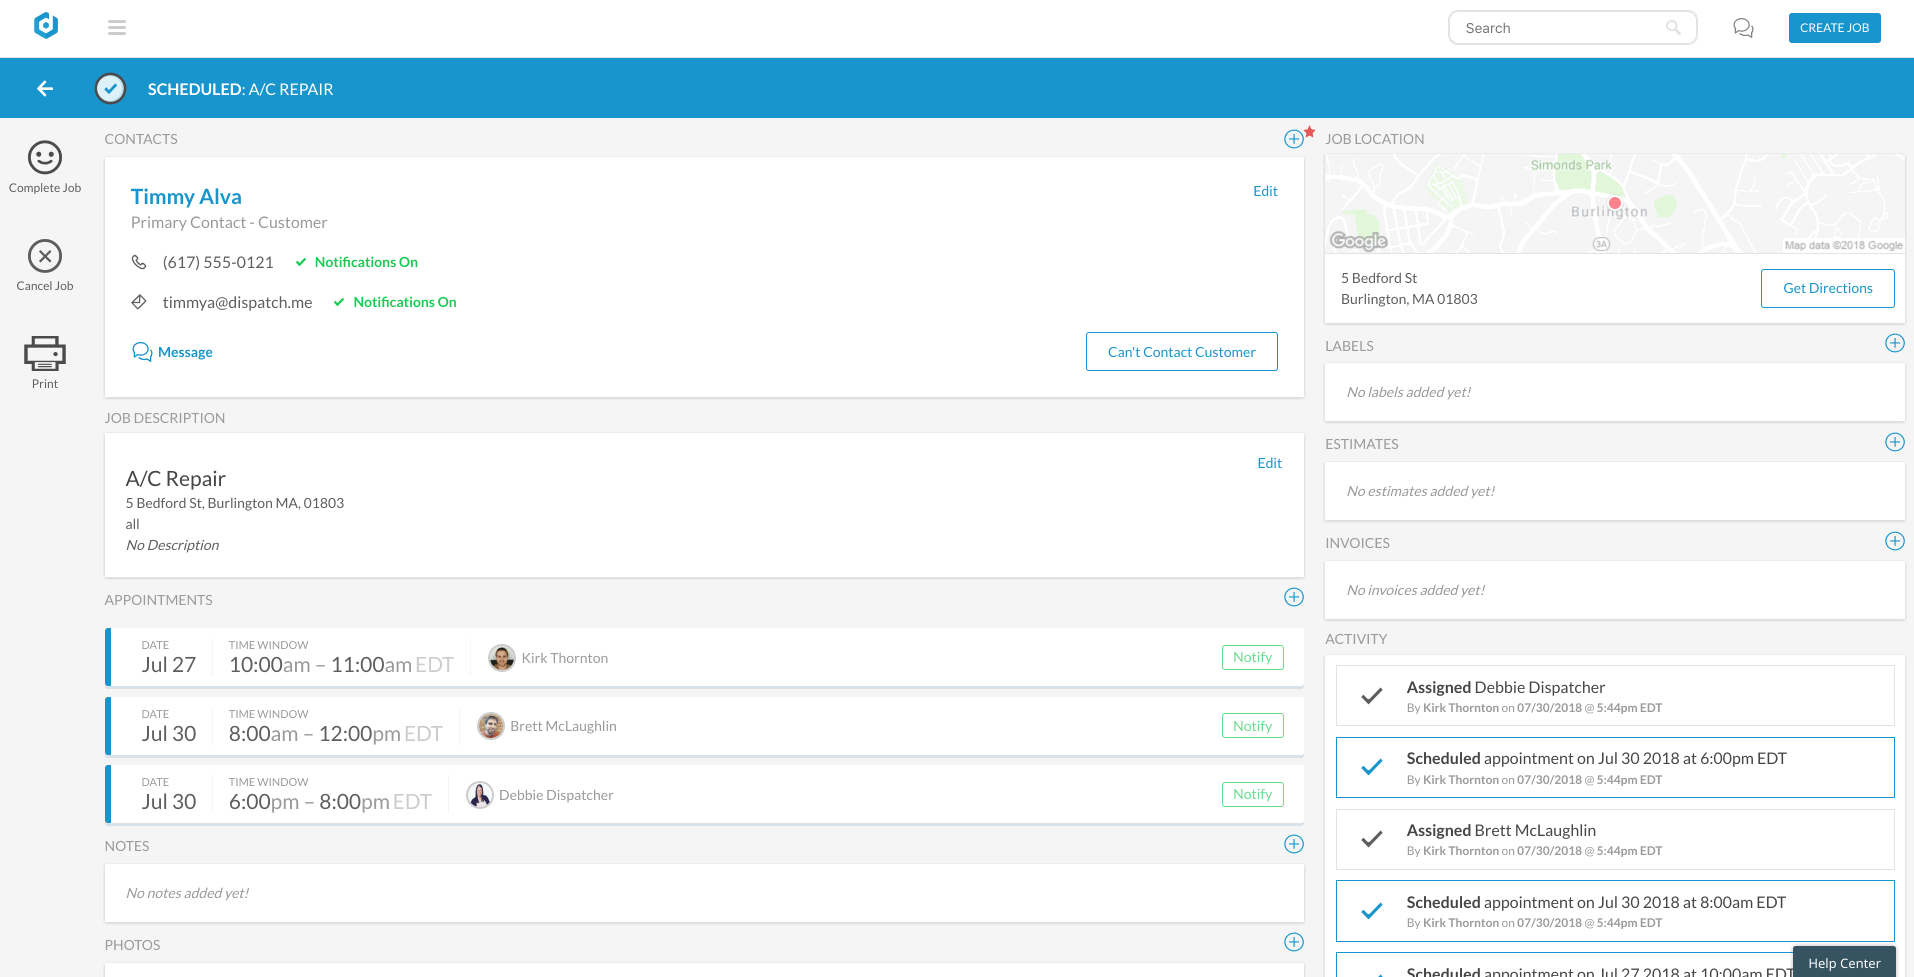
Create a Lead
You are not required to have specific information about the customer/prospect in order to create a lead.
- Click the Create button and select Lead
- You'll be shown the lead page, for you to enter the information you have for your new lead.
A lead can be created with minimal information, which you can update as you learn more.

Lead Fields
- Contacts: you are not required to have any specific customer information up until the lead is won.
- Description: Enter title and/or description based on your needs, there are no required fields.
- Assigned Dispatcher: If you'd like to assign this to a specific team member (must be in the 'Dispatcher' or 'Both' role) you can select that team member from the list to assign the lead to that person and you'll be able to filter leads by assignment.
- Lead Source: This can be a custom source for your business or an enterprise/brand. In order to add sources, please ensure you have added your sources to your company presets section in your settings first.
- Lead Labels: This can be a custom label for your business. In order to add labels, please ensure you have added labels to your company presets section in your settings first. Lead Labels are unique to leads and separate from jobs and customer labels.
- Quotes: A quote is a billing document for leads only and it can be created on a lead without a contact/customer.
- Attachments: Add photos or PDFs to your lead here.
- Notes: Add any internal notes about your lead here. This can be helpful to use to add updates like contacts attempted while you're working your lead.


Update your Lead Progress
When you create a lead, it will always start in the ‘New’ status.
Use the dropdown menu to update the status as you work your lead. Lead Statuses include: New, Assigned, Contacted, In Progress, Won, and Lost.


Assign the lead to a Team Member (optional)
If you'd like to assign this to a specific team member (must be in the 'Dispatcher' or 'Both' role) you can select that team member from the list to assign the lead to that person and you'll be able to filter leads by assignment.

Contacting your Prospect/Customer
When a lead is created with contact information, notifications to your prospect are off, by default. You are able to contact the prospect by clicking on the email address you entered for them (if applicable) and your native email application will be activated. You can also give them a call and note any important updates on your lead afterwards.

When you view the job page, you'll notice that customer notifications are now toggled to ON.

If you're an inbox messaging user, you will be able to use inbox on the job page once the lead has been won and converted.
Add a Quote
A quote is a new billing document for leads only and it can be created on a lead without a contact/customer. Quotes are for internal use and the document can't be sent to a prospect/customer. When a lead is won, the quote will carry over to the job as an estimate in draft status.

Leads with a quote added show the quote icon plus the most-recently-quoted amount on the card in the leads list page.

If the lead is won, quotes are carried over to the job as estimates
Lead Outcomes
Please note that once a lead has been marked as Won or Lost, you will not be able to revert or modify the status of that lead again. Won and Lost leads can be found in your leads list, which you're able to filter by lead status.
Winning a Lead
When you mark a lead as Won a few things happen.
If any of the following fields are incomplete, you’ll be prompted to add this information before you can mark the lead as won:
- First name
- Email or Phone number
- Title
- Address

Then, once the lead has been marked as won, a linked job is automatically created.
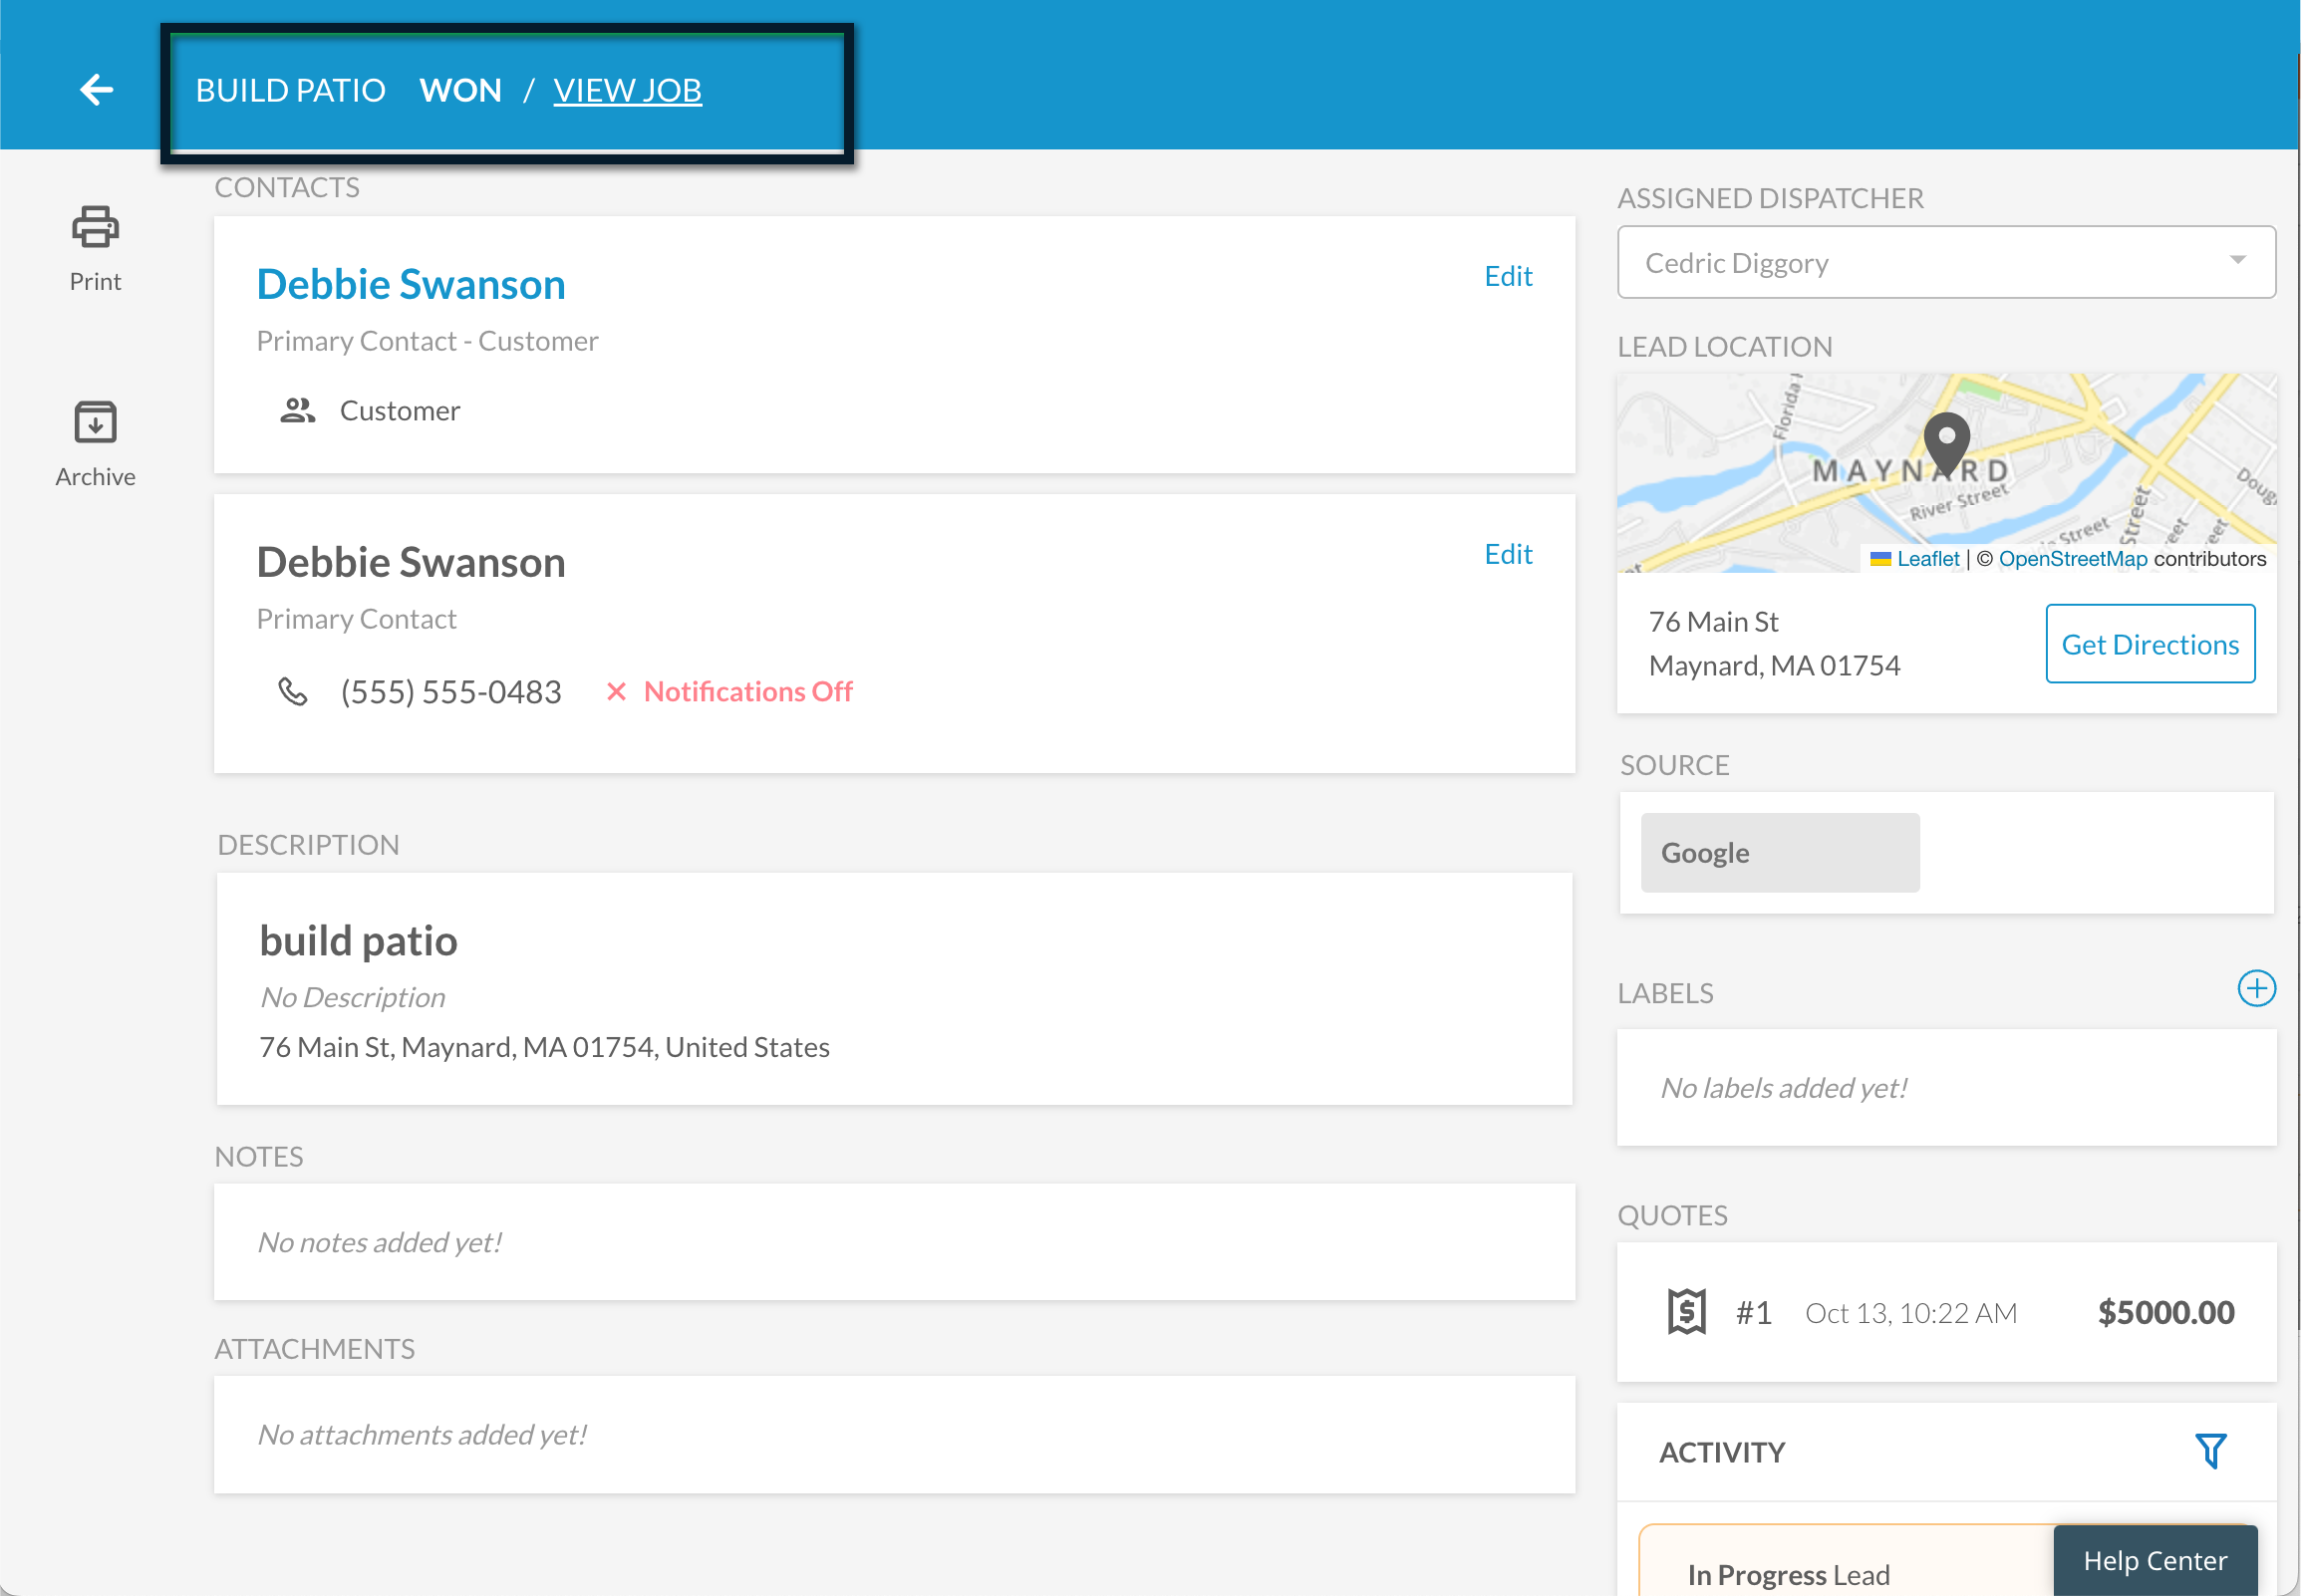
When you click View Job, you'll be taken to the job details page.

Information that carries over from the won lead onto the job:
- Customer
- Source
- Title
- Description
- Location
- Quotes (as estimates in draft status)
Information that does not carry over from the won lead onto the job:
- Assigned Dispatcher
- Notes
- Attachments (photos, pdfs)
- Labels
- Activities - The lead activities remain on the lead's activity log. The job activity log starts with when the job was created from the won lead.
Losing a Lead
When you mark a lead as lost, you'll be prompted to select the reason that best describes why the lead was lost, and then click confirm.

Once you have confirmed the reason for the lead being lost, the lead will update to Lost status.

Please note that once a lead has been marked as Won or Lost, you will not be able to modify the status again. Lost leads can be found in your leads list and you're able to filter your leads by status.