Adding Notes, Photos, and Labels to a Job
One of the best ways to capture information about a Job is to add Notes, Photos, and Labels to the Job Details. Often, a Technician in the field needs to communicate some details about a Job back to individuals in the office or capture an image of a repair, damage, or product serial number, or other information for the records. Similarly, office personnel might need to communicate time-sensitive updates about a Job, questions for a Technician to ask, or other vital data.
This article will show you how to add and view Notes, Photos and Labels on both the web application and the mobile application.
Article Sections
Notes
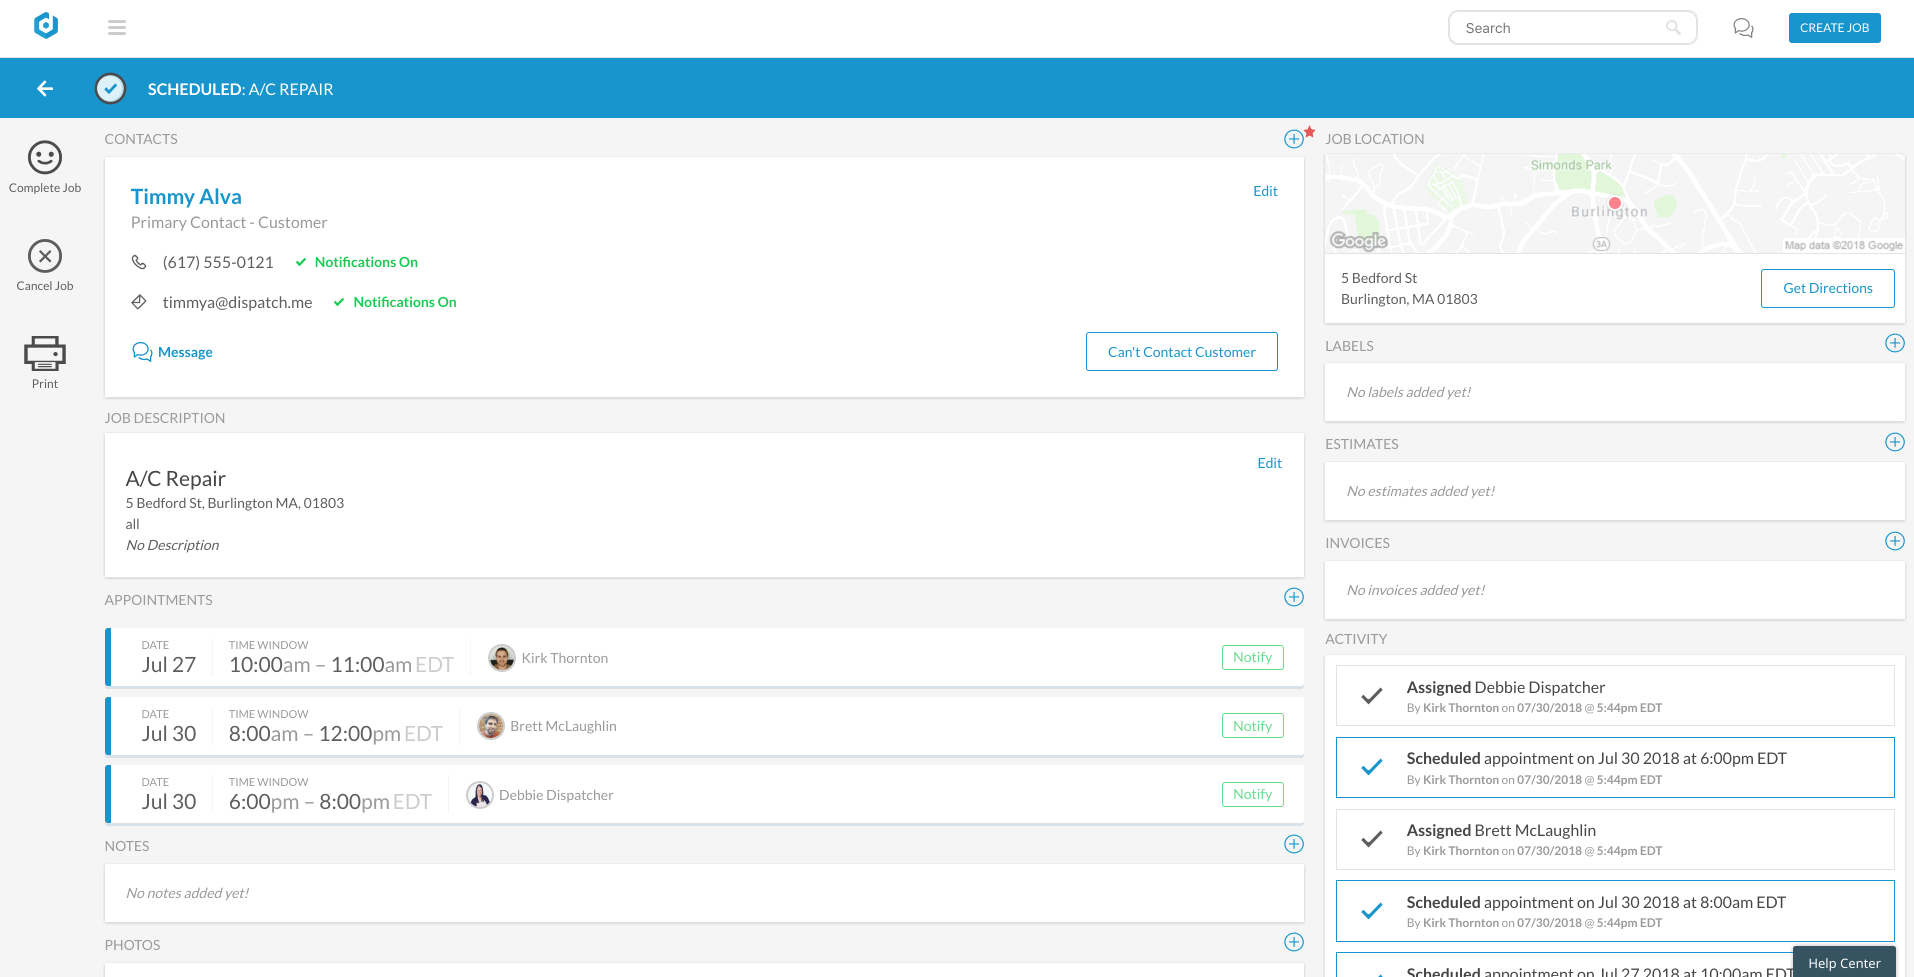
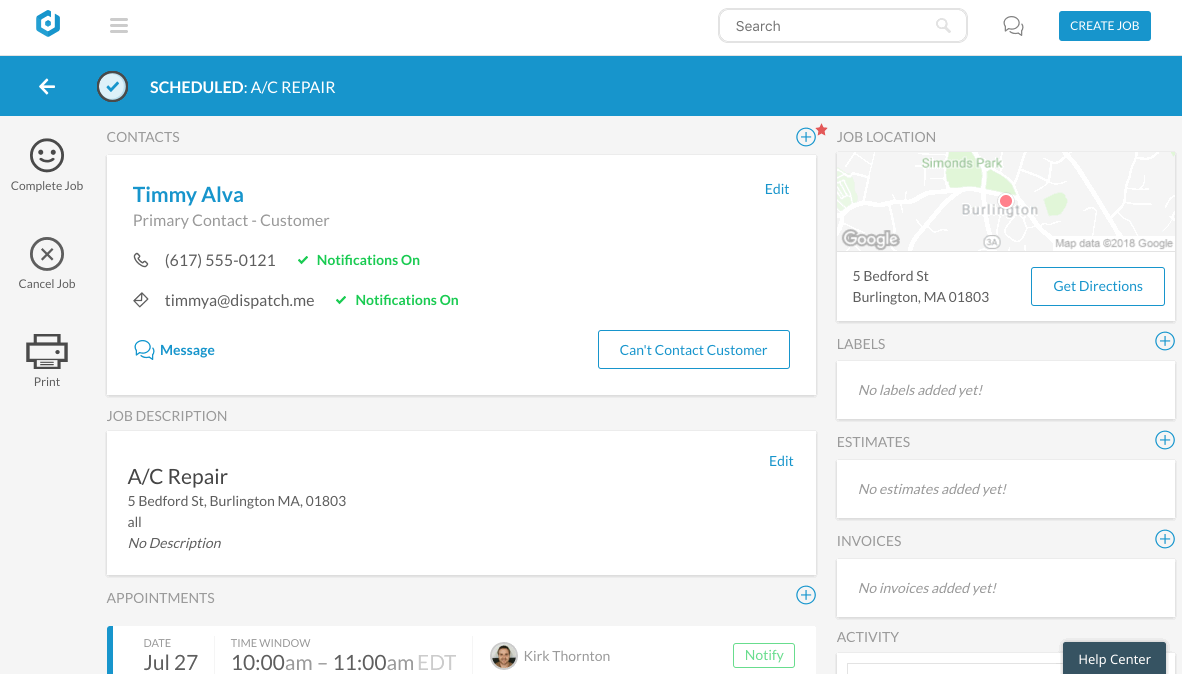
Click on the Job that you wish to add a Note to and then scroll down to the Notes section on the right hand side. Click on the Plus (+) sign to add an item. Enter your note into the field and then hit Save. An existing Note looks like this. You can click Edit to make changes or Delete the Note.
Formatting Notes with Markdown
To add basic text formatting like bold, hyperlinks, and headers, you can use Markdown syntax.
With this easy-to-learn shorthand syntax, you can produce Notes with richer formatting.

Priority Notes
A recent enhancement to the notes feature in Dispatch is the addition of Priority Notes. Priority Notes will allow your business to mark the most important and essential details that you want staff, including Technicians and Dispatchers, to know about. To mark something as a Priority Note, make sure to check the action box next to the Priority Note option, as indicated below. Be sure to click safe once complete.

Priority Notes can be viewed and updated in the Dispatch Mobile Apps as well.
Photos
Clicking on the Plus(+) sign to add a Photo will launch a standard upload dialog, in which you can browse for the file that you wish to add. Once added, it will look like this. You may click on an existing Photo, which will open a larger version onscreen. Use the arrows to view other Photos attached to the Job, and click the Close (X) to return to the Job Details.
Labels
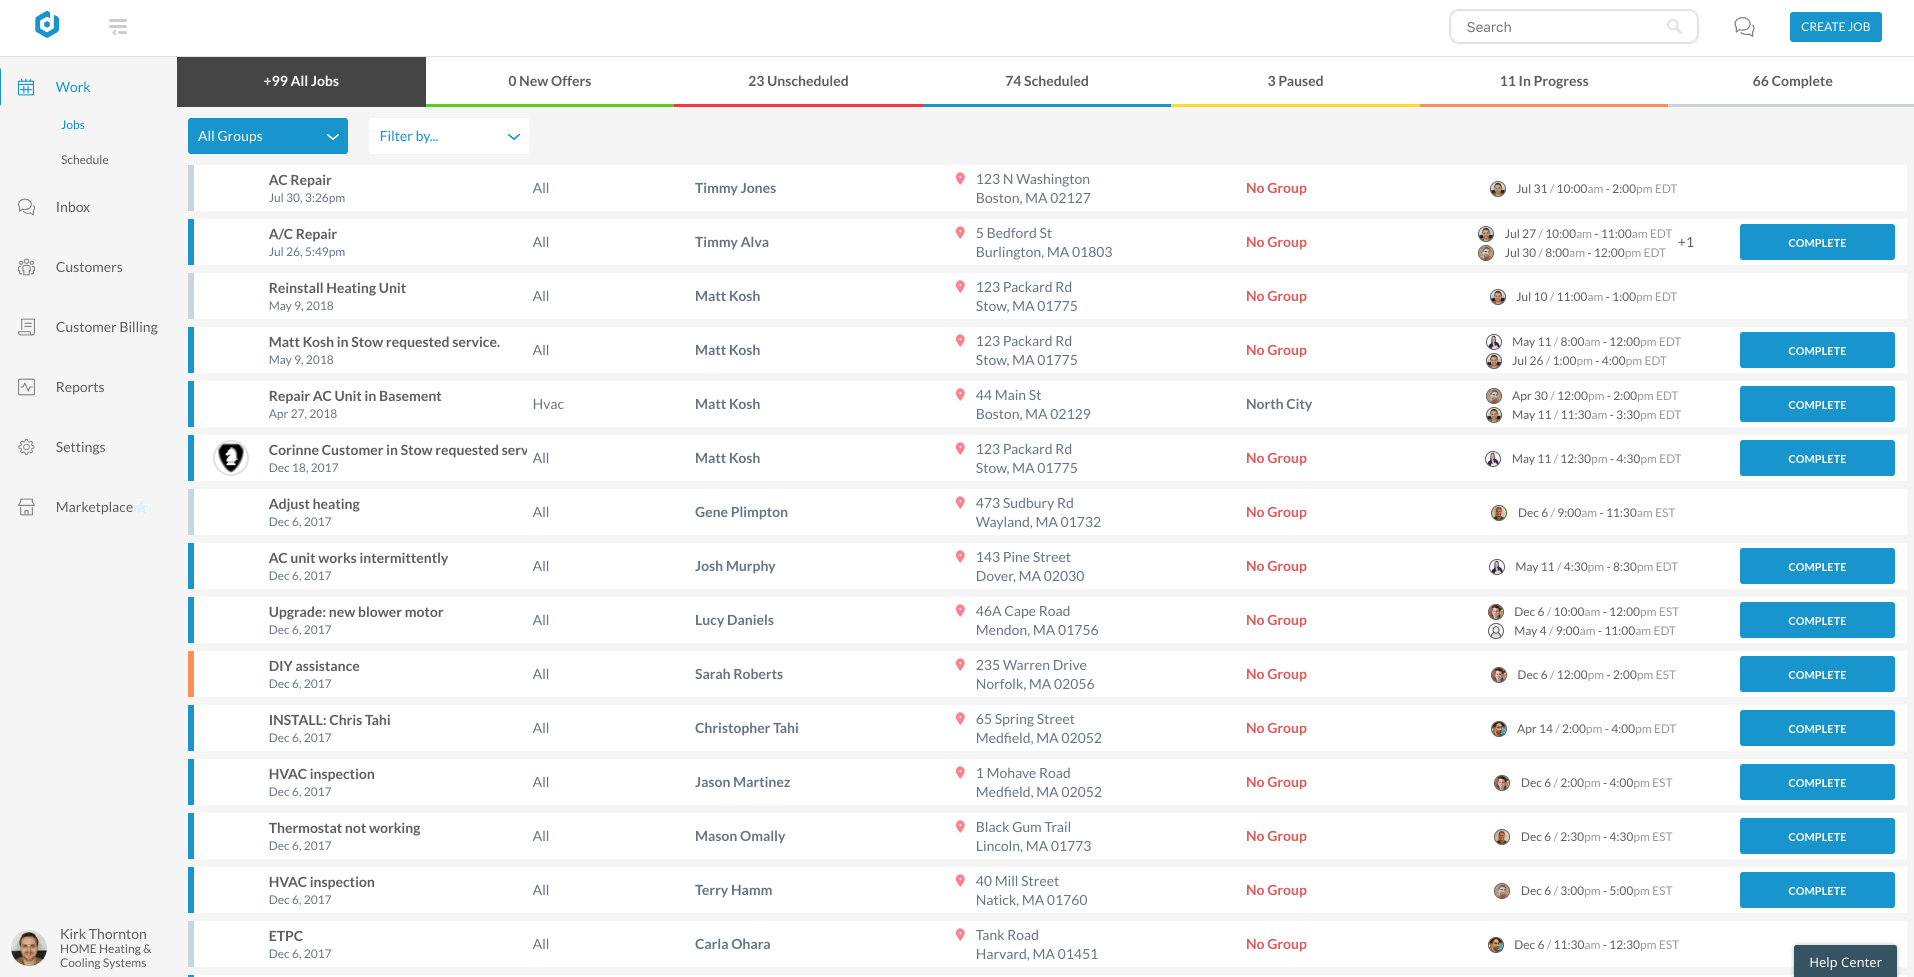
In order to add a Label, you must first open that Job. Go to the Schedule page or Jobs page and then click on the particular Job that you wish to label. Once in the Job Details, scroll down to the Labels card and click on the Plus (+) icon to add a Label. You can then click in the entry field to begin typing or select one of the Standard Labels. Repeat the same process to add multiple Labels, or click on the X to delete an existing Label.
NOTE: If you wish to add custom Labels, please reach out to our Customer Success team, and they can assist you.
Mobile App
Adding Notes, Photos and Labels in the Mobile app is very easy! To do so, click on the red Plus (+) icon at the bottom of the screen. From here, choose where to add a Note, Photo, or Label. For Photos you can either take a new Photo with your camera or choose an existing Photo you already have on your phone. Once selected, you will need to click OK to confirm the upload. Afterwards, you will see the Photo in Job Details, and you can click on it to see a larger version as above.